How to Make Custom Floor Mats
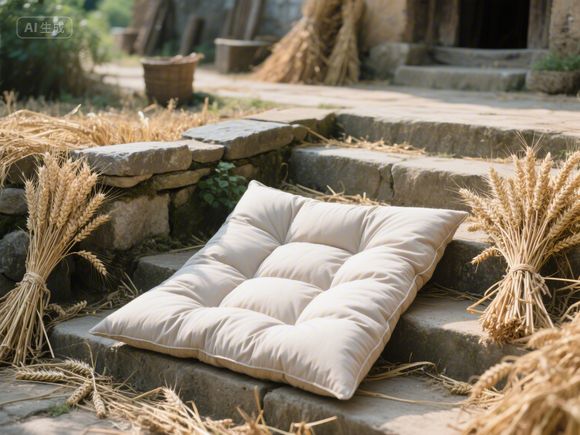
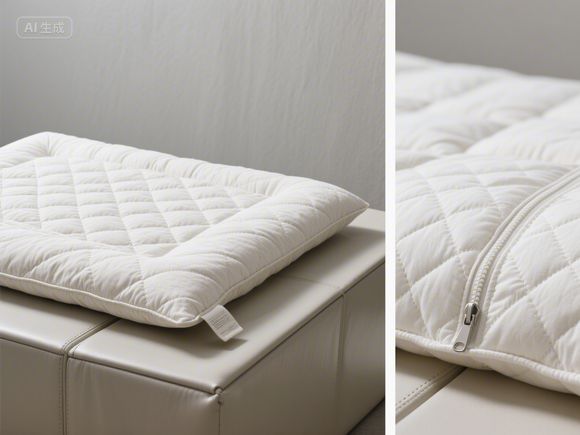
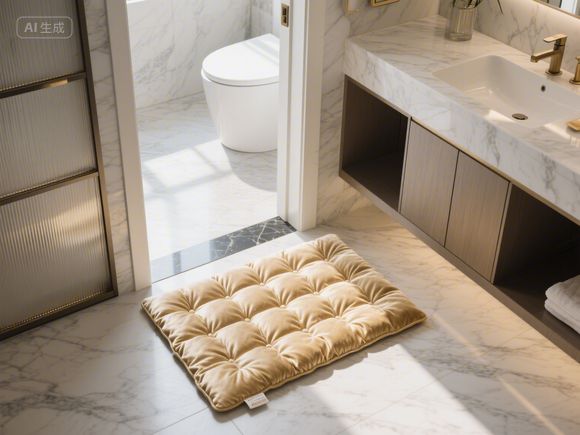
How to Make Custom Floor Mats,Creating custom floor mats offers a practical and creative way to enhance your space. With a few basic materials and tools, you can produce unique mats tailored to your specific needs. Start by selecting a sturdy base, such as a rubber sheet or a sturdy fabric, which will provide stability for your mat.,Next, consider the design and color scheme that suits your taste. You can use a patterned roll of fabric or create a custom图案 using paint or fabric markers. Cut the material to your desired size and shape, ensuring it has enough cushioning for your floor.,For added durability, you can line your mat with an extra layer of fabric or use a non-slip material like rubber. This will help protect your floor from scratches and spills. Finally, secure the edges with strong adhesive or staples, depending on your material choice.,Custom floor mats are not only functional but also add a touch of personalization to your home. Whether you're looking to add style, improve traction, or provide extra cushioning, making your own mat is a rewarding project that can be done in no time. With a little creativity and effort, you can have a one-of-a-kind mat that enhances the appearance and comfort of your space.
Introduction
Hello everyone! Today, I'm going to share with you how to make custom floor mats. Whether you're looking to add a touch of elegance to your home, provide extra comfort in high-traffic areas, or simply add a personal touch to your workspace, making your own custom floor mats is a rewarding and creative project. In this article, we'll go through the steps you need to take to create your own custom floor mats, including tips and tricks to ensure your mats turn out great.
Materials Needed
Before we dive into the process, let's take a look at the materials you'll need:
- Fabric: Choose a fabric that complements your decor. Common materials include carpet, vinyl, and synthetic fibers.
- Cutting tools: A sharp knife, scissors, and a ruler.
- Adhesive: Use a strong adhesive like double-sided tape, glue, or a fabric adhesive.
- Padding: Add padding to the back of the fabric for comfort and durability.
- Basting thread: For securing the edges.
- Measuring tape: To measure your space accurately.
- Pencil: For marking where you'll cut the fabric.
Step-by-Step Guide
Now that you have all the materials, let's get started on creating your custom floor mats.
Step 1: Design Your Mat
The first step in making your custom floor mat is to design it. Decide on the size, shape, and pattern of your mat. You can draw your design on paper or use design software. If you're not sure about the size, start with a small mat and scale up as needed. Remember to leave some room around the edges for cutting.
| Step | Description |
|---|---|
| Sketch your design | Draw a rough sketch of your mat's shape and pattern on paper. |
| Convert to actual size | Use the measuring tape to measure your desired mat size and adjust your design accordingly. |
| Choose a pattern | Select a pattern that fits your decor and budget. |
Step 2: Cut the Fabric

Once you've designed your mat, it's time to cut the fabric. Use the ruler to ensure straight cuts and a sharp knife for a clean edge. If you're using a pattern, cut the fabric in pieces and then sew or iron them together to form the final pattern.
| Step | Description |
|---|---|
| Measure the fabric | Use the measuring tape to measure the dimensions of your fabric. |
| Cut the fabric | Cut the fabric along the marked lines. |
| Sew or iron the pieces together | Use a sewing machine or hand-sew the pieces together, depending on your preference. |
Step 3: Add Padding
To add comfort and durability to your mat, you'll need to add padding. Cut the padding to the same size as the fabric and attach it to the back of the fabric using double-sided tape, glue, or fabric adhesive. Make sure the padding is evenly distributed.

| Step | Description |
|---|---|
| Cut the padding | Cut the padding to the same size as the fabric. |
| Attach the padding | Use double-sided tape, glue, or fabric adhesive to attach the padding to the back of the fabric. |
Step 4: Sew the Edges
To prevent the padding from slipping off the edges of the fabric, you'll need to sew the edges. Use a basting thread to sew around the perimeter of the fabric, leaving a small opening for turning the mat right-side out. Make sure the stitches are even and tight.
| Step | Description |
|---|---|
| Turn the mat right-side out | Push the padding inside the fabric through the opened hole. |
| Sew the edges | Use a sewing machine or hand-sew the edges, making sure the stitches are even and tight. |
| Secure the stitches | Finish the edges with a few additional stitches or an iron to prevent the fabric from unraveling. |
Step 5: Finish the Mat

After you've sewn the edges, your mat is ready to be finished. You can add a border or decorative elements to enhance its appearance. Once you're satisfied with the finish, let the mat dry completely.
| Step | Description |
|---|---|
| Add a border | Cut a border of fabric or other material to go around the perimeter of the mat. |
| Decorate | Add decorative elements like buttons, embroidery, or paint to the mat. |
| Dry the mat | Allow the mat to dry completely before using it. |
Tips and Tricks
Now that you know the basics of making custom floor mats, here are some tips and tricks to help you create the best mat possible:

- Use high-quality materials: Invest in good quality fabric, padding, and adhesive to ensure your mat is durable and comfortable.
- Take your time: Don't rush through the steps. Take your time to ensure your mat turns out great.
- Experiment with patterns: Try different patterns and colors to find the perfect look for your space.
- Get creative: Feel free to get creative with the design and decoration of your mat. The more unique, the better!
Case Study: Making a Custom Floor Mat for Your Home
Let me show you how to make a custom floor mat for your home with the tips and tricks we discussed earlier. I'll be using a simple pattern and a basic fabric to create a cozy and inviting floor mat.
| Step | Description |
|---|---|
| Design the mat | I decided to create a rectangular floor mat with a simple geometric pattern. I sketched the design on paper and then converted it to actual size using the measuring tape. |
| Cut the fabric | I cut the fabric into rectangles, each measuring 2 feet by 1 foot. I then sewed the pieces together using a sewing machine, leaving a small opening for turning the mat right-side out. |
| Add padding | I cut the padding to the same size as the fabric and attached it to the back of the fabric using double-sided tape. |
| Sew the edges | I used a basting thread to sew around the perimeter of the fabric, making sure the stitches were even and tight. I finished the edges with a few additional stitches and let the mat dry completely. |
| Finish the mat | I added a border of fabric to go around the perimeter of the mat and decorated it with some simple buttons. |
Once the mat was dry, I was amazed at how cozy and inviting it looked. It added a touch of personality to my home and was a great addition to my workspace.

Conclusion
Making custom floor mats is a fun and rewarding project that allows you to add your own unique touch to any space. By following the steps outlined in this article and using the tips and tricks we discussed, you'll be able to create a custom floor mat that fits your needs and enhances the appearance of your home or workplace. Remember to take your time, experiment with different patterns and decorations, and enjoy the process. Happy making!